Maple Butter Roast Turkey/Best Turkey You’ll Ever Eat In Your Life.

ImageAs I promised you guys last week, today’s blog post is all about my famous Maple Butter turkey. I say famous because I cook it exactly twice per year (Thanksgiving and Christmukah dinner), for crowds of 12-25 people, and each one of those people claim it’s the best turkey they’ve ever had. I’m really not exaggerating here – this turkey is everything turkey should be but usually isn’t – moist and juicy (I’m not kidding when I say that you need to be careful when first carving it, as the juices will squirt out at your face), flavourful and delicious with an amazingly sweet gravy.

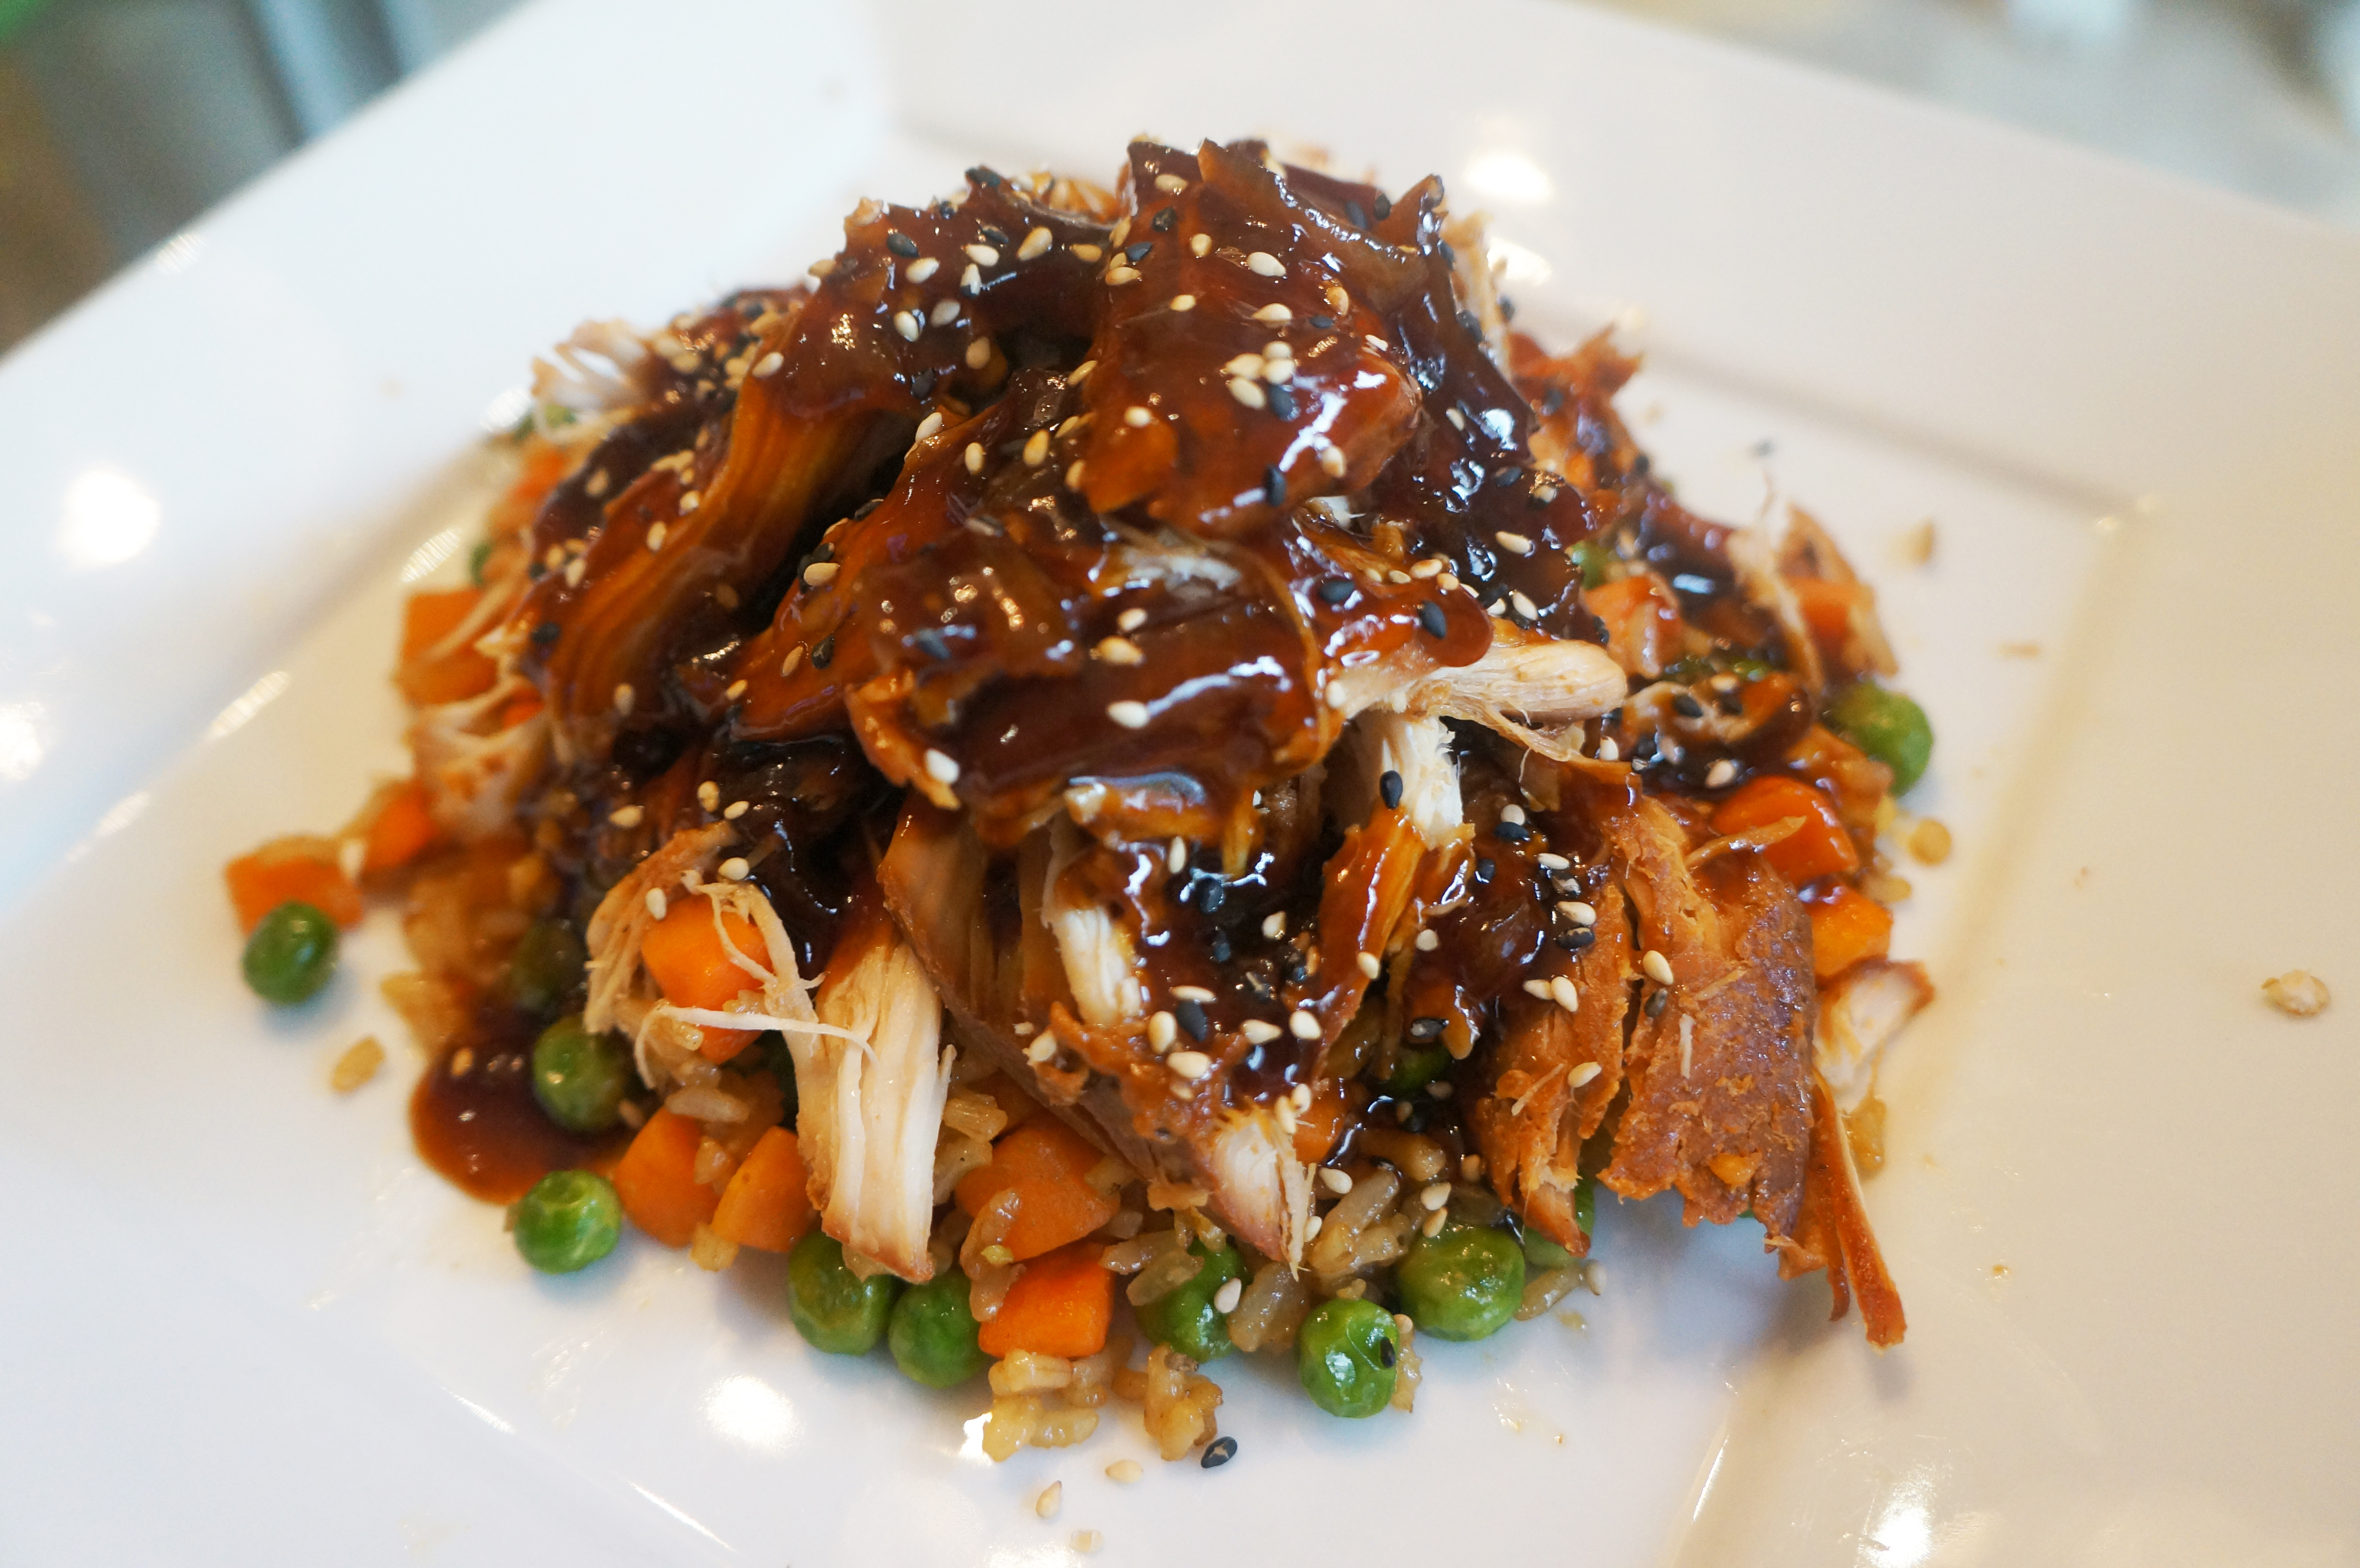
Now, you’ll have to excuse the photos as they’re from last Chrismukkah (yes, that’s Christmas and Chanukah rolled into one), but I will update them after this Thanksgiving. For Canadian folks like me, we’re just about one week away from Thanksgiving, which means ORDER YOUR TURKEY! Oh, and bookmark this recipe because if you’re hosting this year, you’ll need it.

Now I have to warn you, this is a not so lazy lazygirl recipe, but it is 100% worth it. I promise. The trick is to thoroughly coat the inside and outside of the bird with the maple butter – I mean, you’re gonna have to get super personal – and baste the bird about every 30 minutes. The smell in your house alone will drive you crazy.

If this is your first time cooking a turkey and you’re nervous, don’t be. The first time I made it, it was amazing, and it has been consistently amazing every time after that – you just can’t really mess it up with this recipe. So go on, take that bold step and volunteer to cook a bird this year. You’ll be glad you did.

Here’s the recipe:

Maple Butter Roast Turkey/Best Turkey You’ll Ever Eat In Your Life.
Adapted from allrecipes.com

2 cups apple cider
1/3 cup real maple syrup
2 1/2 tablespoons chopped fresh thyme
2 tablespoons chopped fresh marjoram
1 1/2 teaspoons grated lemon zest
3/4 cup butter, softened
salt and pepper to taste
1 (12 pound) whole turkey, neck and giblets reserved
2 cups chopped onion
3 cups chopped carrots
3 cups chicken broth
1/4 cup all-purpose flour
1 bay leaf
Your favourite stuffing

Combine apple cider and maple syrup in a saucepan, and bring to a boil over medium-high heat. Continue cooking until reduced to 1/2 cup, then remove pan from heat. Stir in 1 tablespoon thyme, 1 tablespoon marjoram, and lemon zest. Stir in butter until melted, and season with salt and pepper. Cover, and refrigerate until cold.

Preheat oven to 375 degrees F (190 degrees C). Place rack in lower third of oven. Place turkey on a rack set in a roasting pan. Reserve 1/4 cup maple butter for gravy, and rub the remaining maple butter under the skin of the breast and over the outside of turkey (like I said, get intimate with this turkey and make sure every nook and cranny is coated in the maple butter). Spoon the stuffing into the cavities, careful not to overstuff. Arrange onion, carrots, turkey neck and giblets (if desired – I usually omit the giblets because they scare me) around the turkey. Sprinkle 1 tablespoon thyme and 1 tablespoon marjoram over vegetables. Pour 2 cups broth into pan.

Roast turkey for 30 minutes in the preheated oven. Reduce oven temperature to 350 degrees F (175 degrees C). Cover entire turkey loosely with foil. Continue roasting for about 2 1/2 hours, basting the bird with the drippings/broth every 30 minutes. The turkey is ready when a meat thermometer inserted into thickest part of thigh registers 180 degrees F (85 degrees C). Once done, transfer turkey to platter, and let stand 30 minutes.

Strain the pan juices into a large measuring cup, and then remove any excess fat. Add enough chicken broth to pan juices to measure 3 cups. Transfer liquid to a saucepan, and bring to boil. In a small bowl, mix 1/4 cup maple butter and 1/3 cup flour until smooth. Whisk flour and butter mixture into broth mixture. Stir in remaining thyme and the bay leaf. Boil until reduced to sauce consistency, stirring occasionally, about 10 minutes. Season with salt and pepper to taste.

To serve, I like to grill some apples sprinkled with cinnamon and arrange them around the turkey, along with extra stuffing. The gravy is amazing alone over the turkey, but I also like to spoon on some cranberry sauce – the flavours are incredible together.

Get ready to become a rockstar at your holiday dinners from now on, because after you make this turkey, you will be known as the official turkey maker of your family/friends/workplace.

Happy Thanksgiving!

-Monica

Slow-Cooker Honey Sesame Chicken

Image
I’ve been completely MIA this past week and I apologize – September is always so busy between the Jewish holidays, my sister-in-law’s birthday, my birthday and my dad’s birthday, I barely have time to do anything else. So expect more of me next week when things slow down a bit (definitely come visit next week, when I’ll share my recipe and tips for my famous, absolutely delicious turkey for thanksgiving. 

Last week, I finally tried a crock pot recipe I’ve been wanting to make for a while now; honey-sesame chicken. It turned out absolutely delicious. I got the recipe from The Comfort of Cooking blog, and barely changed a thing (an unusual feat for me). And c’mon, it’s made in a slow cooker -it couldn’t get any easier (or quicker). I also liked that even the process of thickening the sauce happens in the slow cooker, so you don’t need to transfer it to another pot (less to clean!). 

Crock Pot Honey Sesame Chicken 
Serves 4 

4 chicken breasts (you can also use thighs, but we don’t like thighs around here)
Salt and pepper 
1/2 cup diced onion
2 cloves garlic, minced
1 cup honey 
1/4 cup ketchup
1/2 cup low-sodium soy sauce 
2 tablespoons vegetable oil or olive oil 
1/4 teaspoon red pepper flakes 
4 teaspoons cornstarch
1/3 cup water 
1/2 tablespoon (or more) sesame seeds

Place chicken in Crock Pot and lightly season both sides with salt and pepper. In a medium bowl, combine onion, garlic, honey, ketchup, soy sauce, oil and red pepper flakes. Pour over chicken. Cook on low for 3-4 hours, or high for 2 hours. Remove chicken to a cutting board, leaving sauce. Shred chicken into bite-sized pieces; set aside. In a small bowl or cup, dissolve 4 teaspoons cornstarch in 1/3 cup water; add to crock pot. Stir to combine with sauce. Cover and cook sauce on high for ten more minutes, or until slightly thickened.

I also made asian-style fried rice (let me know if you want the recipe!), and served the chicken over it, then spooned the sauce over everything. Top with sesame seeds. Yum!

Enjoy!

-Monica

Man Pleasing Chicken

ImageI keep meaning to post this recipe, because it’s seriously the easiest, quickest tastiest chicken recipe out there. It’s so flavourful and tangy yet savoury and sweet all at once. I originally got the recipe from the witty in the city blog, who calls it ‘Man Pleasing Chicken’, and I’ve been sharing it with my friends ever since. I use chicken breasts instead of thighs because D hates thighs – err..chicken thighs. They’re amazing with chicken breasts, probably better than thighs (for us, anyway).

This recipe takes literally a minute to throw together, and 30 minutes in the oven will do it (40 minutes for thighs).

Man Pleasing Chicken

6 chicken thighs or 4 chicken breasts
1/2 cup of dijon mustard
1/4 cup of maple syrup
1 tablespoon of rice/rice wine vinegar
Salt & pepper
Fresh rosemary (or dried if you don’t have fresh)

Preheat your oven to 450 degrees F. In a small bowl, mix together the dijon mustard, maple syrup and vinegar and set aside. Place the chicken in a foil-lined, oven-proof baking dish and season with salt and pepper. Pour your maple mustard mixture over them, making sure both sides are covered by turning them in the sauce. Cook thighs for 40 minutes, and breasts for 30 minutes. Pour the remaining sauce over the chicken once they’re ready, and serve with rice (with more sauce!). Garnish with rosemary. Enjoy!

-Monica

5-Layer Magic Squares

Photo from tastebook.com

Happy Friday! Today, I posted my weekly blog for Flyerland.ca – today’s recipe is for 5-layer magic squares. They are so amazingly rich and delicious, and the ultimate lazygirl recipe (People will think you worked really hard on these, I promise). Check out the recipe here.

Delicious Butternut Squash, Apple and Pear soup

One of my favourite things about fall is butternut squash soup – and after a few years I’ve perfected my recipe. It’s creamy, spicy, and a bit sweet, and the perfect thing to warm up to on a crisp fall night. My recipe uses cream, but feel free to omit it if you want to cut down on the fat. It also freezes really well, so double the batch and freeze the rest for a delicious soup anytime.

Delicious Butternut Squash, Apple and Pear soup

1 tablespoon grapeseed oil
1 tablespoon salted butter
1/2 cup diced onion
3/4 cup diced carrots
3 cups peeled and cubed butternut squash
1 peeled and cubed apple (I used whatever I have on hand; normally Honey Crisp, Fuji or Gala)
1 peeled and cubed pear
3 cups chicken stock (or vegetable stock to keep it vegetarian)
salt and ground black pepper to taste
ground nutmeg to taste
Cayenne pepper to taste
Cinnamon to taste
1/2 cup half and half cream (optional)

Heat the oil and melt the butter in a large pot over medium heat. Add in the onion and cook until tender. Add the carrots, squash, apple and pear to the pot. and stir. Pour in the chicken stock, and season with salt, pepper, cayenne, cinnamon and nutmeg. Bring to a boil, reduce heat, and simmer until the vegetables and apples are tender. In a blender or food processor, puree the soup mixture until smooth. Return to the pot, and stir in the cream. Heat through, but do not boil. Taste, and add more spices as needed. I usually end up adding more salt and cayenne for some spice. Serve hot with a dash of nutmeg.
Enjoy!
-Monica

TIFF, Kate Hudson, and super easy herbed roasted baby potatoes

What a weekend! TIFF is going on here in the city (Toronto International Film Festival), so Toronto is buzzing with stars and stargazers alike. It was mine and D’s 4-year wedding anniversary on Friday, so we went to one of our favourite restaurants in the city, Harbour sixty. We were out of the central TIFF hub, so didn’t expect to see any celebs – didn’t even think about it. But, low and behold, we ended up sitting one table away from Kate Hudson, which was pretty exciting, considering I love, love, love her. We didn’t meet her or anything, but we did share a pretty intimate dining experience considering it was our table, hers, and two others on the patio. So basically, if someone were to ask Kate if the restaurant was busy, she’d say “Nah, just us, and a few other tables”. And you know what? We were one of those tables.

So that kinda counts, right?

My new BFF, Kate Hudson (photo from thestar.com)

And the food…oh the food. We had this amazing seafood tower as our app – fresh lobster, king crab legs, west and east coast oysters, Maryland crab salad, and gargantuan shrimp – oh my! D had the black cod and I had the filet mignon, with truffled Mac n’ Cheese and lobster brie mashed potatoes (are you salivating yet?). I wish I had photos to show you, but I was too busy contemplating my newfound friendship with Kate.

The rest of the weekend was pretty awesome too. Went to the Spoke club on Saturday night for a TIFF event, and then to Aberfoyle Antique market again on Sunday without Nate – and were actually able to score some awesome finds.

So anyway, the point of my weekend story is that today, I was far too tired to cook so we got takeout (LAZY!) So, tonight’s blog is gonna be an easy, quick side dish that will be a great go-to for a plethora of different entrees. It doesn’t get any more simple than this, friends. Just keep a bag of mini potatoes in the fridge (helps the mini ones last longer), and in no time, you’ll have a delicious side of crispy, flavourful ‘taters.

Easy Herbed Roasted Baby Potatoes

3 pounds baby/new potatoes, halved
1/4 cup olive oil
1 teaspoon Salt and freshly ground black pepper
2 cloves minced garlic
Your favourite herbs and spices, to taste (I used paprika, cayenne pepper and dried basil)

Heat oven to 450 degrees, and place a rack at the lowest position. In a bowl or ziplock, toss potatoes with oil, salt and pepper, garlic, and herbs and spices. Arrange, cut side down, on a large cookie sheet lined with aluminum foil. Roast for 25 minutes, then move to a higher rack and broil for 3-5 minutes (watch them closely so they don’t burn – you want them golden brown and crispy). Et voila! The perfect side to any dish.

Happy eating!

-Monica

Special Recipe Fridays at Flyerland!

For those of you in Canada, and specifically in Toronto, check out my weekly blog over at Flyerland.ca – I’ll be posting new recipes there every Friday to coincide with deals and sales going on at Toronto grocery stores. Last week, I featured Apple-Curry Tuna Melts, and today, an amazing recipe for baked Sweet and Sour Chicken

Click here to check it out every Friday.  

Slow Cooker Teriyaki Flank Steak

We really enjoy our red meat around here. But I can’t stand fatty cuts or meat that is too chewy, so I like to turn to my slow cooker for certain types. One of those is flank steak, which tends to be a tougher cut but almost melts in your mouth after a good sitting in the slow cooker. In fact, it gets so tender that even well done, it just falls apart as you cut it.

This recipe is for Teriyaki flank steak that I originally found years ago on allrecipes, but have since changed it around. I actually didn’t have any fresh ginger today so I omitted it, and it was still excellent. The trick is to give it a nice sear on both sides prior to slow cooking, and then let it do its’ thing. The best part is, no need to marinate which is great, because I usually forget to do that the night before anyway. So, yay! The result is so, so flavourful and tender, a definite winner with the hubby.

After getting a nice sear on the skillet

Isn’t that pretty? After a good 6.5 hours in the slow cooker

Slow Cooker Teriyaki Flank Steak 

1/2 cup wine (I use whatever I have at home, which is, admittedly, a lot. But any type will do – red, white…even rose if that’s how you roll)
1/2 cup soy sauce
1/4 cup olive oil
2 tbsp sesame oil
1/4 cup brown sugar
1/4 cup grated fresh ginger root
2 cloves garlic, minced
1 teaspoon ground black pepper
1 1/2 pounds beef flank steak
Freshly ground sea salt and black pepper, to taste
Additional oil, for searing

 In a small bowl, mix the wine, soy sauce, olive oil, sesame oil, brown sugar, ginger, garlic, and pepper. Set aside. Rub the steak with sea salt and black pepper, then heat the oil in a large skillet. Place the steak on the hot skillet and sear on both sides (you don’t want to cook the steak, just give it a nice browned skin). Place in the slow cooker and pour the sauce on top. Cook on low for 6-8 hours (I cooked mine for about 6.5 hours and it was well done, but super tender. Cook for less time if you like it more rare). Once cooked, remove from the slow cooker and slice it against the grain, then pour the sauce over to serve. Enjoy!

All ready to be sliced up. And how pretty is my new William Sonoma Teak cutting board? It was a bit of a splurge, I’ll admit…but how pretty?

Best ever fried but not fried chicken with spicy honey-dijon dipping sauce – Gluten free!

Okay, so I know I’m usually pretty passionate about my recipes, but the one I’m about to share with you deserves some extra credit. Why? Well, for starters, it tastes like fried chicken, but it’s not fried. Next, it’s Gluten free, but absolutely positively doesn’t taste like it. This, my friends, is most definitely the best non-fried fried chicken I have ever had, and actually, it’s probably better than the actual fried chicken I’ve had.

I was looking for a healthy(ish) recipe for ‘fried’ chicken, but as I’m not eating flour right now (I’ve convinced myself that flour is the enemy in the fight against losing the rest of my baby weight), I knew finding a good gluten-free one would be a challenge. I adapted parts of the Simply Gluten Free blog for the recipe, but decided to bake it instead of frying it. Seriously, D thought that a) they were fried and b) they were made with flour. They were amazingly crispy on the outside and moist and tender on the inside. And the flavour? Whoa. Amazingness all around. I also made a delicious honey-dijon dipping sauce that went perfectly with the chicken. To finish it off, I served it with a creamy broccoli ‘slaw. Perfect!

Oh, and if you don’t actually need to eat gluten-free, you can of course make this recipe with regular flour (just omit to rice flour and potato/tapioca starch). Either way, get ready for some serious deliciousness.

Drumsticks bathing in a bath of buttermilk and paprika

Getting a nice coat of egg and flour/spice mix

Ingredients – Chicken

8-10 chicken drumsticks (or other chicken pieces, if you wish)
1/2 carton of buttermilk (or just enough to coat the chicken pieces)
3 large eggs
1 cup white or brown rice flour
1/3 cup potato or tapioca starch
1 tsp sea salt, plus more for seasoning the chicken
½ tsp black pepper, plus more for seasoning the chicken
1 tsp garlic powder
2 tsp paprika
1/4 cup of salted butter, cut into squares
Pam cooking spray

Ingredients – Spicy honey-dijon dipping sauce

1/2 cup mayonaise
2 tbsp dijon mustard
1/2 tsp garlic salt
1 tbsp rice wine vinegar
2 tbsp honey
cayenne pepper, to taste
paprika, to taste

Preheat the oven to 400 degrees F. Put the chicken in a shallow dish and sprinkle with 1 teaspoon of paprika. Then, pour the buttermilk over the chicken until all pieces are well covered. Cover with plastic wrap and refrigerate for at least 2 hours. Remove the chicken from the buttermilk and pat dry with paper towels. Season with salt and pepper.

Whisk the eggs together in a small bowl and put aside. In another bowl whisk together the rice flour, potato/tapioca starch, 1 teaspoon salt, ½ teaspoon black pepper, garlic powder and paprika.

Dip the drumsticks into the egg mixture, then shake off the excess and coat well with the flour mixture. Place on a plate and once all the chicken is coated let sit for 5 minutes. Coat the chicken in the flour mixture again. This part is so important so don’t skip over it!

Line a 9×13 lipped cookie sheet with the butter pieces and place in the over for about a minute, letting it melt but careful not to let it burn. Once hot, remove from the oven and spread the melted butter so that the entire pan is covered, and place the coated drums on top of the melted butter. Spray the chicken with PAM cooking spray (yes, on top of the coating – this will help it get crispy). Bake for 15 minutes on each side. Don’t get lazy with this step, friends. It’s very, very important to turn the chicken to get the amazing crispiness on both sides.

For the dipping sauce, combine all sauce ingredients and blend until smooth. Set aside until ready for dipping.

Remove the chicken when done, and serve hot with a side of ‘slaw. Get ready to be in serious friednotfried chicken heaven.

Best Thai Chicken Lettuce Wraps you’ll ever make – and eat!

Oh September, how quickly you’ve snuck up on us. I can’t believe the summer is (unofficially) over. It really seemed to fly by, but then again, doesn’t it always?

We decided to make the most of the last long weekend of the summer by hosting dinner for some friends on Friday night, and heading up north to our friend Jay’s cottage for pretty much the rest of the weekend. In between, we also managed to make it to Aberfoyle Antique market, this amazing open-air antique market in Guelph, Ontario. D and I love, love antiquing but found that going with Nate proved to be a bit tricky. Next time, we’ll go sans baby and spend more time there.

But back to our Friday night dinner. Since my friends, D and I love Asian food, I decided to cook up an Asian fusion feast. I was looking for the perfect Thai lettuce wrap recipe, and adapted elements from two different ones I found online. I used a chicken filling recipe that I found on Pinterest (big surprise there) from CopyKat Recipes and an amazing peanut sauce I found on the Cozy Apron blog. I changed a few things and the result was delicious. So fresh, sweet, spicy and savoury all at once. I highly suggest you try these out. Like, tonight.

Thai Chicken Lettuce Wraps

Spicy Chicken Filling:

1 pound ground chicken
1 tbsp dried basil
2 tbsp soy sauce
2 tbsp fresh lime juice
2 large minced garlic cloves
1 tsp Sriracha chili paste
1 tbsp sesame oil
2 tbsp vegetable Oil

Sweetly Spicy Peanut Dipping Sauce

½ cup peanut butter (I used good ol’ Skippy crunch PB)
¼ cup rice wine vinegar
¼ cup water
1/4 cup honey
2½ tablespoons low-sodium soy sauce
1½ tablespoons fresh lime juice
1 teaspoon sesame oil
1 teaspoon Sriracha chili paste
½ teaspoon fish sauce

For wraps and garnish

15-20 Romaine leaves
1/2 cup shredded carrot
1/2 cup chopped green onion
1/4 cup chopped cilantro
1 sliced avocado
1 tablespoon peanuts, chopped

First, prepare the sauce by combining all sauce ingredients in a food processor or blender (Admittedly, I used my son’s baby bullet since it’s so handly and the perfect size for sauce). Blend until smooth. If it seems too thick, add a tiny bit more water. Set aside.

Combine ground chicken, basil, soy sauce, lime juice, minced garlic and Sriracha chili paste in a bowl and stir to blend well. Heat both oils in a medium sized pan and add the chicken mixture and sauté until the chicken is cooked through (about 5 minutes).

I set up my platter as a ‘make your own lettuce wrap’ station; I placed the serving dishes with the chicken and the sauce in the center, and arranged the lettuce leaves on either side. I then arranged the shredded carrot, green onion, avocado, cilantro and peanuts on the other two sides. The sauce is definitely the best part, and can be used as a salad dressing, marinade….really anything!