Oh so delicious carrot cake cupcakes with cream cheese buttercream

photo 1

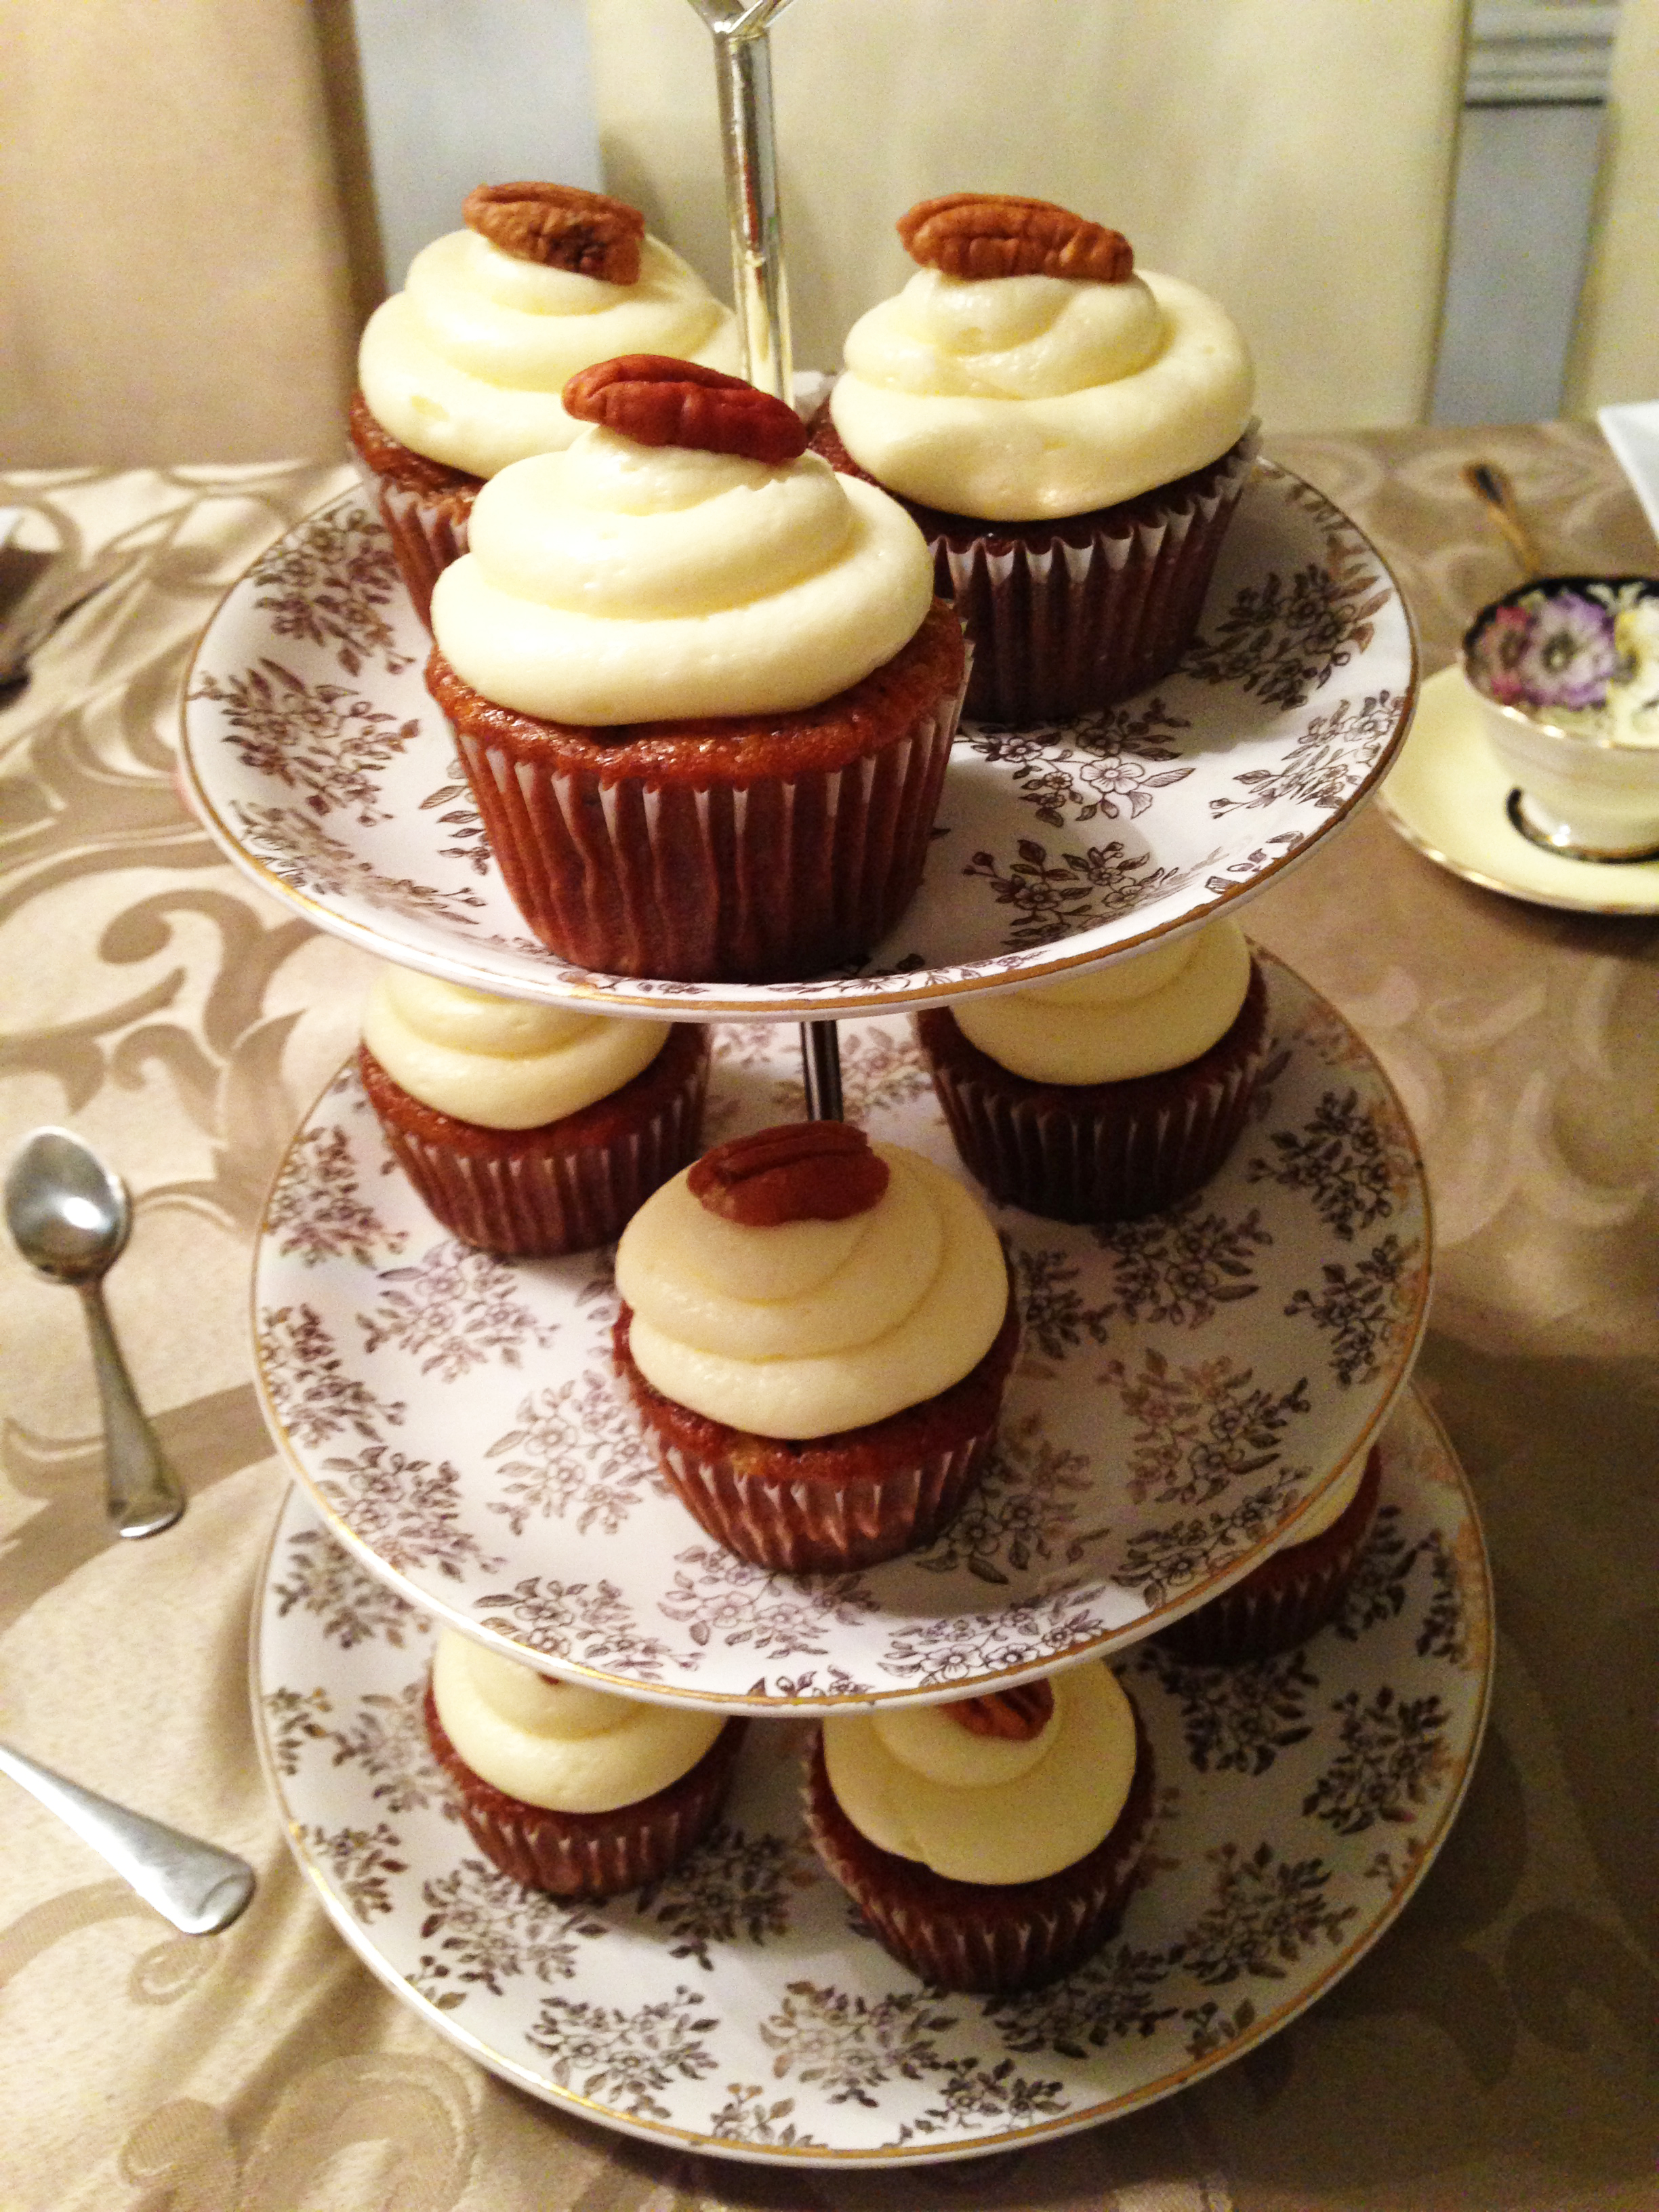
Carrot cake is so underrated. Seriously, it’s such a delicious, moist cake that tends to be overshadowed by trendy flavours like red velvet. Don’t get me wrong, I love red velvet, and it was certainly one of our most popular flavours when I owned my bakery – but I wish people gave carrot cake another chance. Sure, it takes some extra work so it’s not exactly the laziest of recipes, but once you bite into that decadent cake with a dollop of rich cream cheese buttercream, it’ll all be worth it.

If you haven’t guessed, it’s definitely one of my favourite cupcake flavours. And this recipe is my go-to carrot cake/cupcake recipe. I’m also about to give you the secret to delicious, simple cream cheese buttercream – it was my ‘secret ingredient’ buttercream that deserves a post of its own (soon), and I think it’s time my friends. Time for you to be wowed.

And plus, I owe you guys more baked goods recipes. I mean, I did own a bakery and it did close down, so I don’t really need to keep my recipes under wraps anymore. Well, maybe a few. Gotta keep the mystery alive, after all 😉

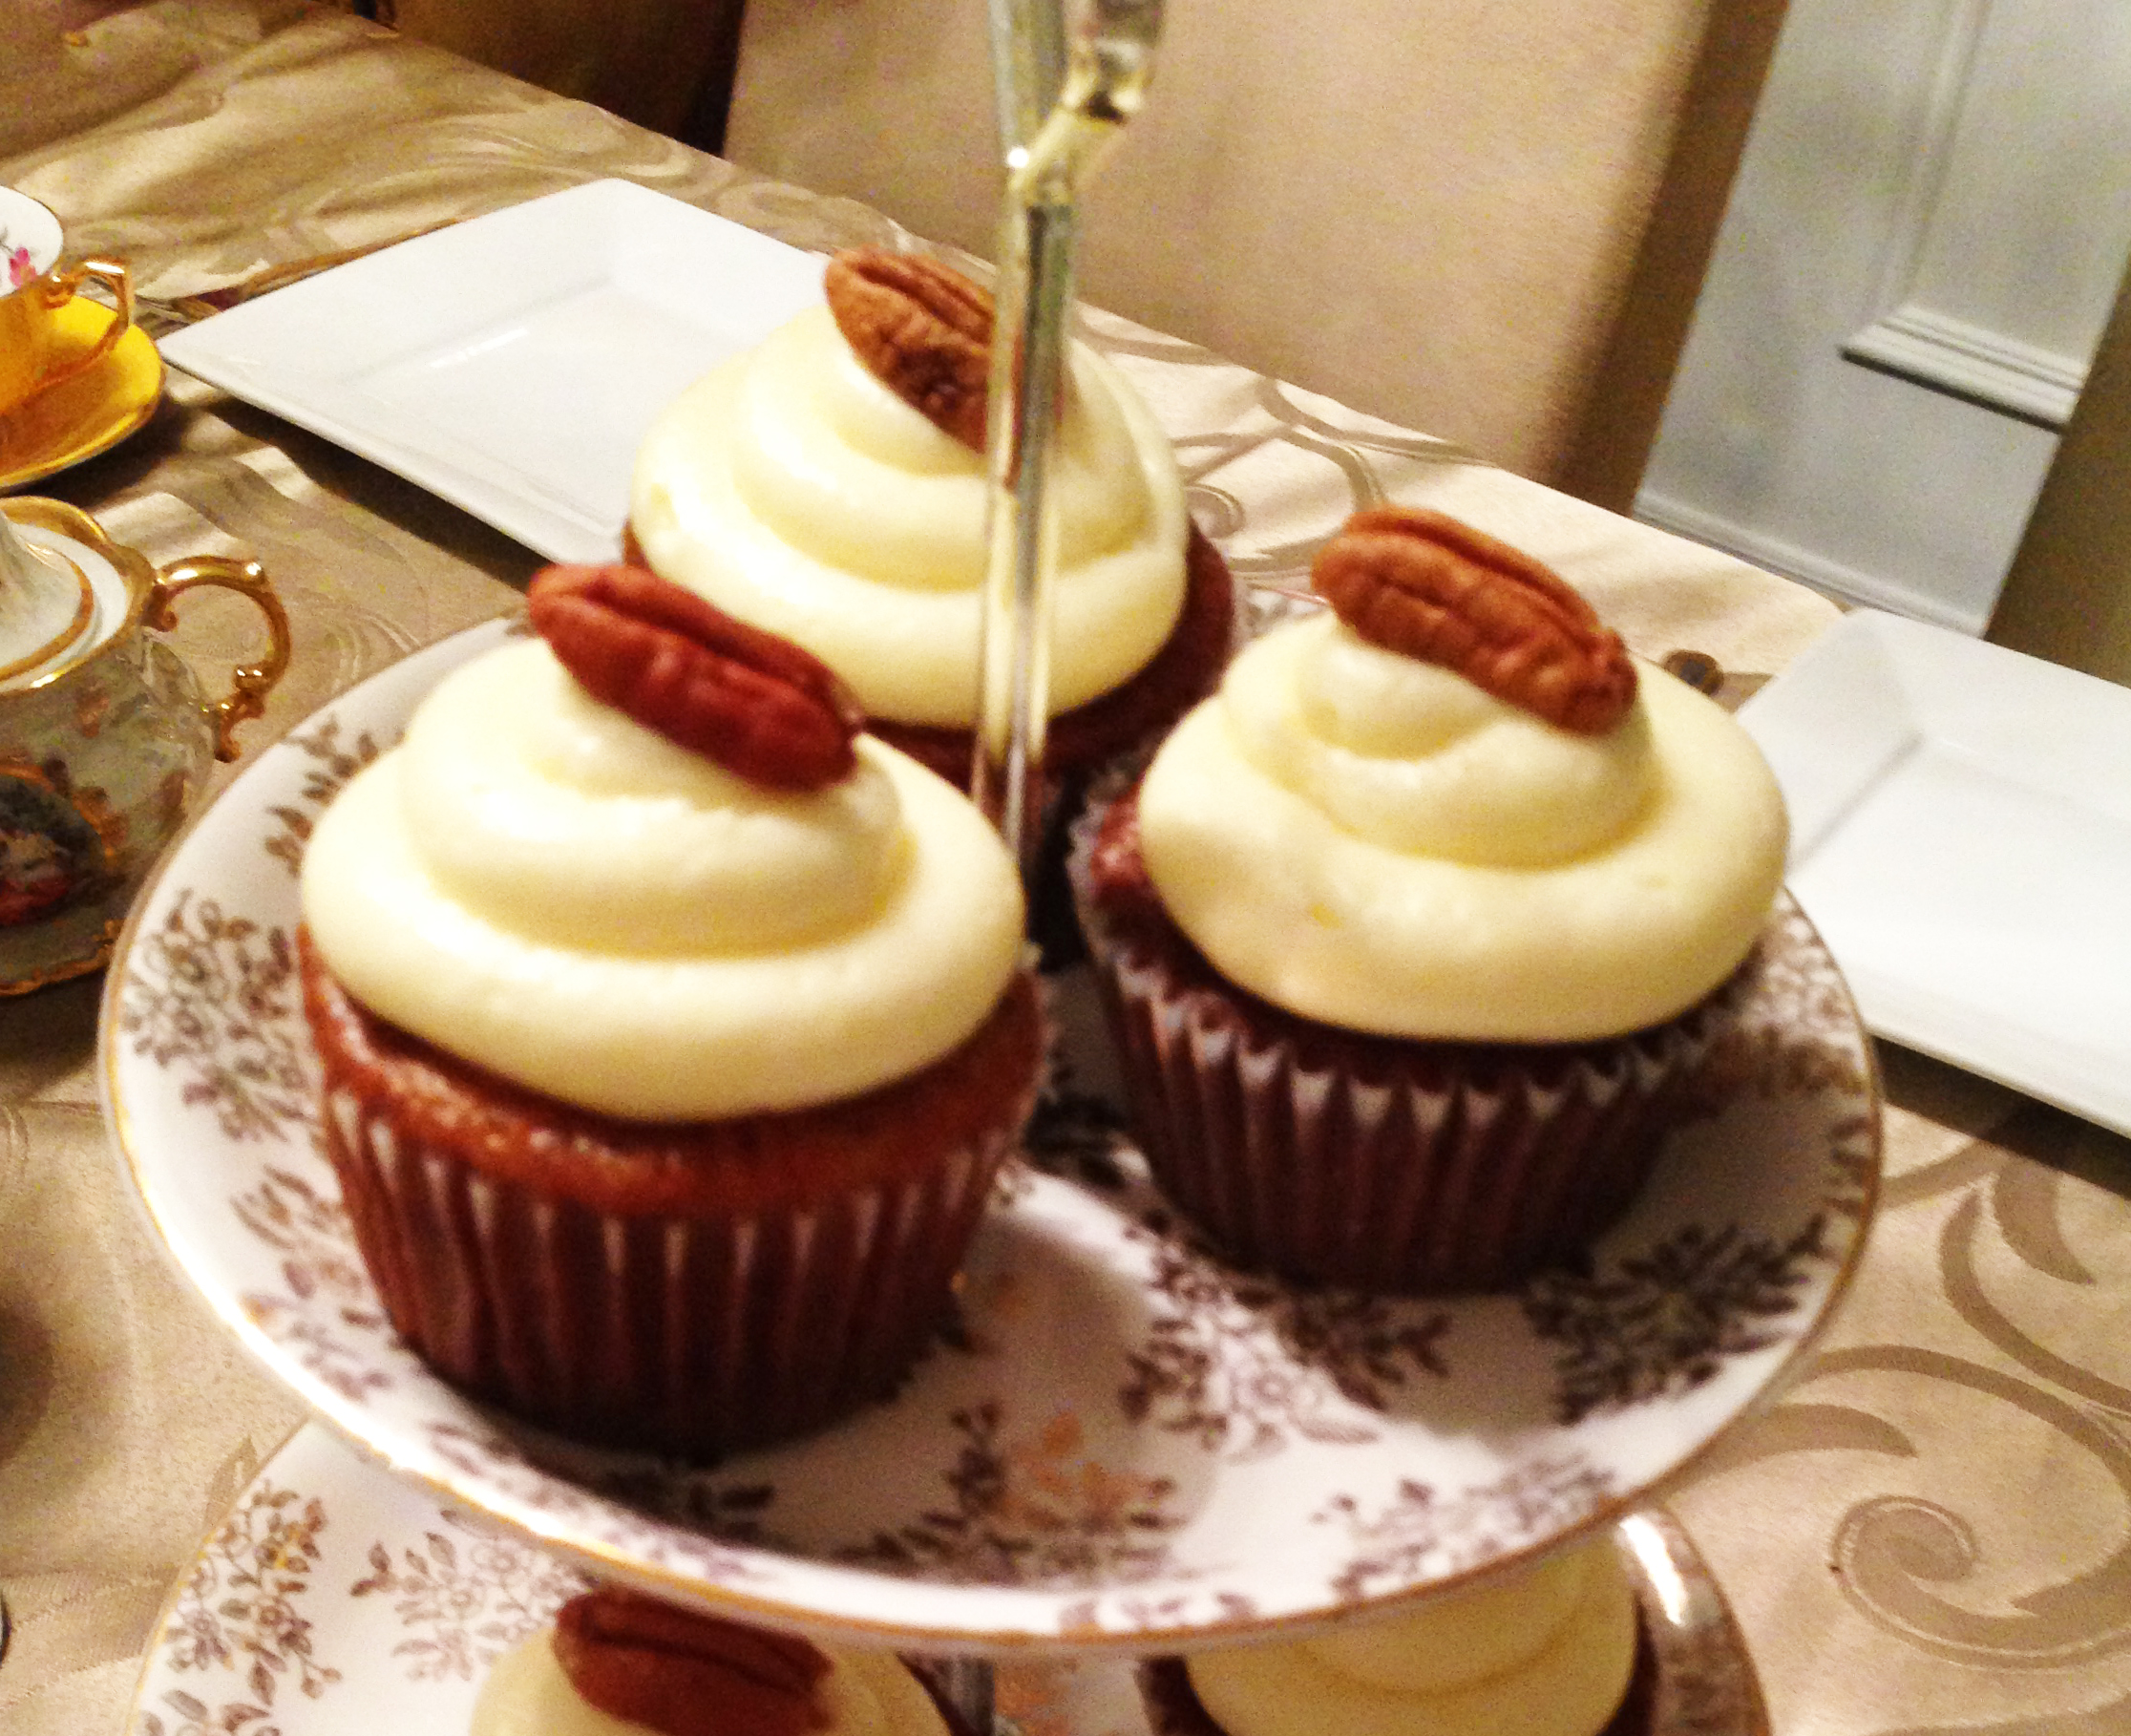
Delicious carrot cake cupcakes with cream cheese buttercream

Carrot cake
About 12 cupcakes

3 eggs
3/4 cup buttermilk
3/4 cup vegetable oil
1 1/2 cups white sugar
2 teaspoons vanilla extract
2 teaspoons ground cinnamon
1/4 teaspoon salt
2 cups all-purpose flour
2 teaspoons baking soda
2 cups shredded carrots
1 cup flaked coconut
1 cup chopped walnuts
1 (8 ounce) can crushed pineapple with juice
1 cup raisins

Preheat oven to 350 degrees F (175 degrees C). Prepare cupcake liners in cupcake tins.

In a medium bowl, sift together flour, baking soda, salt and cinnamon. Set aside. In a large bowl, combine eggs, buttermilk, oil, sugar and vanilla. Mix well. Add flour mixture and mix well.

In a medium bowl, combine shredded carrots, coconut, walnuts, pineapple and raisins. Using a large wooden spoon, add carrot mixture to batter and fold in well. Pour into prepared cupcake liners 2/3 full, and bake at 350 degrees F (175 degrees C) for about 25 minutes, or until a toothpick inserted into a cupcake comes out clean. Allow to cool for at least 20 minutes before frosting.

Cream Cheese Buttercream
Frosts about 2 dozen cupcakes

1 pound/2 cups (one large brick)  salted butter (yes, salted!), softened
1 cup full fat cream cheese, softened
4 cups icing sugar
1 tsp vanilla
splash of lemon

Cream cheese buttercream is tricky in that it tends to become runny, it’s important to use full fat cream cheese, and actually mix the cream cheese, butter and icing sugar together at once (normally you’d add the sugar gradually, but in this case over mixing will lead to a runny icing).

Make sure your butter and cream cheese are softened (room temp, not melted). Add the first three ingredients to your stand mixer and mix on low until combined (you can even mix with a wooden spoon at first to make sure the sugar doesn’t explode on you when mixing). Once the sugar is incorporated, you can add your vanilla and splash of lemon, and mix at medium/high until the icing is smooth. Again, make sure not to over mix. Frost your cooled cupcakes and top with a toasted pecan, if you wish.

photo 3

Normally, I like to keep cupcakes at room temp, but these bad boys can be refrigerated to keep the icing intact. Let them come to room temp before serving, though. Enjoy!

-Monica


Pizza with figs, goat cheese, spinach and balsamic glaze

Image

Happy weekend! So as it turns out, it’s pretty tough to juggle work, a baby, cooking dinner every night, everyday chores, a bit of a life, and a blog – so I may not be able to blog as often as I had hoped. The good news is, my recipe match-ups can be found at flyerland.ca every single day. Yes, you heard me right – 5 days/week of lazygirl recipes – and, if you’re in Canada, I even match up each recipe with grocery items on sale that week. Check out my lazygirl section here.

Ok, now that you’ve all forgiven me, I can move on with tonight’s recipe. I’ve been eating so much pizza since I started working again, it’s not even funny – from lunch & learns, to meetings, to nights when I don’t feel like cooking, pizza seems to be ever so present. The other night though, I decided to make a gourmet pizza at home. I used a ready-made pizza crust, but if you’re feeling extra ambitious, you’re welcome to make the dough yourself. You can also use fresh figs, but I couldn’t find any at my grocery store, so I used dried figs. Lastly, this recipe would also be great with arugula, but I decided to use spinach to make this pizza somewhat healthy. D loved it so much, he asked me to make a second one that night.  

Pizza with figs, goat cheese, spinach and balsamic glaze
Makes one medium-sized pizza

1 ready-made pizza crust (I used thin crust)
1 Tbsp olive oil
About 6 dried figs, sliced (or about 2 fresh figs)
About 1 cup crumbled goat cheese
1 cup torn spinach 
2 tbsp balsamic glaze
1/4 tsp thyme
1/4 tsp basil
Salt & pepper to taste

Image

Preheat oven to 425 degrees fahrenheit. Brush pizza crust with olive oil, and cover with spinach leaves. Add the fig slices and goat cheese (be generous with the cheese). Sprinkle thyme and basil over the pizza, then add salt and pepper to taste. Finally, drizzle with balsamic glaze. Place the pizza in the oven straight on the rack (no cookie sheet). Cook for about 10 minutes, then set the oven to broil, and broil for two minutes or until golden. Enjoy!

Have a great weekend!

-Monica

Back to work and stuff

fortune-cookie-to-work

Happy New Year everyone! I know, I know. Where on earth have you been, Lazygirl? Well, after the torture that was the Dukan diet, I went on vacation for a bit, then the holidays came around, and then, I got extra lazy.

But I’m back now, just as my mat leave is coming to an end. I return to work again next week, which will be a welcome change that I am looking forward to, but I’m also sad to be leaving Nate. The past 9 months have been incredible – just watching the little guy grow as well as having the time to explore new hobbies and interests. But, it’s time to get back to one of the other loves of my life – my career.

For this reason, my recipes will have to be even easier and ‘lazier’ then before – something you can whip up quickly when you get home from work, or prepare the night before and throw in the slow cooker before you leave in the morning.

Also, I’m not sure if I’ve mentioned this in the past, but I’m a huge hockey fan. So, the fact that the NHL lockout is over is pretty much the best news I’ve received all year (all 11 days of it). In honour of hockey being back, some of my recipes will be ‘game day’ inspired – ya know, wings and other yummy pub fare (that you can make at home).

Anyway, have a fantastic weekend and I’ll be back with great recipes next week.

-Monica

Dukan Diet – Day 16

ImageI’m not gonna lie to you. This diet business is no fun. Sure, it was all easy and exciting the first week when the weight was falling off, and there were ‘so many options’ to make and eat. But this week, week 2, has been a different story. What I wouldn’t give for a double big mac combo with large fries…and a huge 5-layer chocolate cake for dessert. Yum. But I won’t. I will not give up. I refuse.

Yes, my weight loss has hit a plateau. I’m down 8.4 pounds, but the scale has not budged since last Monday, except for a slight fluctuation of about .4 of a pound. This, of course, discourages me and makes me want to say screw it, screw this diet and screw Dr. Dukan and screw sugar free, fat free everything.

In reality, it’s really only difficult at night. You know, when D is chomping on bacon and sour cream chips and other such junk, and I’m sitting there with my sad little sugar free jello cup. For the record, I absolutely hate artificial sweeteners for the way they make things taste – artificial. I find it much more palatable to sweeten my own plain yogurt and whatnot with splenda, and add my own pure vanilla extract. So this, of course, makes snacking a lot harder. And I’m getting really sick of yogurt. And turkey. And smoked salmon. And eggs. And I could go on.

ImageSo that’s pretty much it. I have no inspiring words of wisdom or encouragement. Just wanted to say that this is tricky. I won’t say hard, because there are so many other things in this life that are hard. But this is definitely not easy, let’s put it that way.

Anyway, that’s all for now.

-Monica

Dukan diet – day 9

Hi guys! So I know I said I would post some yummy Dukan recipes, but the problem is, I’ve made a bunch now and I’m yet to find something Lazygirl-worthy. I’ve made the standard meatballs and sticky chicken and they were okay, palatable I suppose, but nothing magnificent.

The other day, I was craving something sweet and thought I’d make a Dukan brownie. It looked good enough but when I took a bite – yuck. So bad, I had to throw out the whole thing. The yummiest thing I’ve made and have eaten most breakfasts is the Dukan “pancake”, but I won’t post that since pretty much anyone on Dukan knows the recipe.

In terms of progress, I do have to say that this is definitely the most effective diet I’ve tried. I’m on day 9, and I’m down 8 pounds. (Mind you, two of those pounds don’t really count, because I gained them over last weekend before I started the diet. It involved many a pizza slice and a Big Mac combo, but we’ll forget that ever happened). So in real pounds, lets call it 6. Not too shabby.

Now, if any of you out there have a good Dukan recipe to try, please share with me – I’m so bored of everything already.

I’ll post some more progress reports soon!

-Monica

Lazygirl tries the Dukan Diet

I’m so sorry I haven’t posted in a bit, but it’s been a bit difficult to cook delicious things when I’m on a super strict diet 😦 Since I couldn’t get rid of these last 10 pounds of baby weight through eating healthy and exercising, I decided I needed something more structured.

My mother in law told me about a diet that she’s on called the Dukan diet, which is apparently huge in Europe, so I figured I’d check it out. It’s pretty strict, but doable. I’m going on day 5, and have lost 4.2 pounds – mostly water weight but still encouraging.

There are tons of yummy recipes that go along with this diet, so if anyone’s interested, I can post them as I go. Otherwise, I’ll be back as soon as I start eating normally again!

Talk to you all soon!

-Monica

Slow Cooker Chicken Noodle Soup

Around this time of year, everyone seems to be coming down with a cold. Even my little guy caught his first cold last week, which was not fun for any of us (especially with a sick hubby, too). And what’s the first thing people always seem to tell you to eat when you’re sick? A good ol’ bowl of chicken soup. Penned as “Jewish Penicillin”, there’s something super comforting about it when you’re under the weather. But, who has time to whip up a pot of chicken soup from scratch? That’s why I was really happy to find this slow cooker recipe for a traditional chicken noodle soup. Throw all the ingredients together in the morning and come home to a freshly made, hot soup. Even works for the man-cold. I should know.

Slow Cooker Chicken Noodle Soup
Adapted from food.com

8 cups water or 8 cups canned chicken broth
1 cup carrots, cut into 1/4-inch slices
1 cup celery, cut into 1/4-inch slices
1 cup onions, chopped
1 garlic cloves, minced
2 bay leaves
1/2 teaspoon dried thyme
4 teaspoons salt ( to taste – reduce if using all chicken stock because it tends to be salty)
1/2 teaspoon fresh ground black pepper, to taste
1 (3 1/2 lb) roasting chickens
3 cups wide egg noodles, uncooked

In 4-1/2 to 6-quart slow-cooker bowl, combine water, carrots, celery, onion, garlic, bay leaves, thyme, 4 t salt, 1/2 t pepper. Place whole chicken on top of vegetables. Cover slow cooker with lid and cook as manufacturer directs on low setting 8 to 10 hours or on high 4-5 hours. Transfer chicken to cutting board. Discard bay leaves. Add noodles to slow-cooker; cover with lid and cook (on low or high) 20 minutes. While noodles cook, remove and discard skin, fat and bones from chicken; shred meat. Skim fat from soup and discard. Return chicken to soup to serve.


Seriously Delicious and Insanely Easy Slow Cooker Pulled Pork

I know, I know. I haven’t posted in 10 entire days. I have no excuse, other than the fact I was sick for much of last week, and then there was Thanksgiving. Ah, Thanksgiving. My favourite cooking holiday. This year, however, I had a little bit of a turkey disaster. Basically, the 16 pounder we had purchased went bad in the fridge somehow, and we only discovered this at 11pm the night before. So we were left desperate and turkey-less – where the hell were we going to find a turkey on thanksgiving eve?? All we could find were frozen birds at the 24 hour grocery stores, and I didn’t have enough time to defrost one (and frozen, really?). I had a mini meltdown and started planning my no-turkey thanksgiving (a tragedy in and of itself).

Somehow, however, my ever-resourceful father-in-law managed to find a turkey at a local grocery store that had been defrosting for the past 24 hours. He dropped it off the next morning, and damn – this thing was scary looking. I’m pretty sure that someone killed this turkey, plucked the feathers out, then stuck it in the freezer. No, really. The neck was still attached and there were feather roots still intact. The legs were spread eagle (slutty bird), and it was completely different than the lovely, organized prepared-for-roasting turkeys I’ve grown accustomed to. Oh, and I had to spend the entire morning defrosting the rest of it in the sink.

After thawing it out and performing minor surgery, I somehow managed to remove the neck (while I contemplated vegetarianism), and got the troubled bird ready for stuffing. All in all, it still turned out okay, but definitely not as juicy as a fresh turkey. Here’s a pic of how it turned out:

Not too bad, considering, Anyway, I have a bunch of thanksgiving recipes to post but for now, I wanted to share a delicious and simple pulled pork recipe. I made it tonight and oh my goodness – you need to make this ASAP. It’s so easy and made in the slow cooker, so you barely have to do a thing. I’ve been wanting to make pulled pork since my post about pulled chicken, but my grocer never had pork shoulder/butt. Admittedly, for this one, I used pork shoulder blade steaks, but they turned out amazingly well. Kind of like pork back ribs, but shredded. So, so good.

Seriously Delicious and Insanely Easy Slow Cooker Pulled Pork

Pork shoulder/butt roast or shoulder blade steaks
Bottle Root Beer (or any carbonated beverage. I haven’t personally tried with others, but I hear beer works well, as does regular club soda)
Salt, pepper and garlic powder to taste
Bottle of your favourite BBQ sauce

Place pork in your slow cooker. Season with salt, pepper and garlic powder on both sides. Pour root beer over the pork, making sure to cover well. Cook on low for about 8 hours (6 hours if using steaks), or until meat starts to fall apart. Remove the pork from the slow cooker and shred with two forks. Discard the remaining liquid. Replace the pork into the slow cooker, and pour your BBQ sauce over top (I used only about half the bottle for my steaks, but for a roast, you may need to use the whole bottle). Cook for another hour on high, or 2-3 hours on low. Serve on toasted buns with caramelized onions (optional). Enjoy!

Have a wonderful weekend,

-Monica

Delicious and Simple Whole Roasted Spiced Chicken

Image

ImageYesterday I featured a Thanksgiving staple – the turkey. Today, I’ve got a great, simple recipe for another whole bird – one you may be a bit more familiar with – the chicken. I absolutely love roasting a chicken whole – the crispy skin, the juicy inside, and different parts to suit everyone’s tastes. The leftovers are also great for chicken salad for lunch the next day.

When I first saw the combination of spices in this recipe, I thought it might be a bit too ‘gingerbreadish’, but they work so well together. I also added some of my own choice spices, because God forbid I leave a recipe alone. There is a bit of effort involved during the roasting process, but I guarantee it will be worth it.

Whole Roasted Spiced Chicken
Adapted from allrecipes.com

1 whole chicken (4 pounds or so)
2 teaspoons salt
2 teaspoons white sugar
1/4 teaspoon ground cloves
1/4 teaspoon ground allspice
1/4 teaspoon ground nutmeg
1/4 teaspoon ground cinnamon
1/4 teaspoon chilli powder
1/2 teaspoon paprika
1/4 teaspoon ground black pepper
5 cloves crushed garlic
1 small onion or scallion

In a bowl, mix the salt, sugar and spices. Rub the chicken with the mixture. Cover chicken, and place in the refrigerator for 24 hours (I’ll be honest, I only had two hours and it was still amazing).

Preheat oven to 500 degrees F (260 degrees C). Stuff the chicken cavity with the garlic and onion or scallion. Place the chicken, breast side down, on a rack in a roasting pan. Roast 15 minutes in the preheated oven. Reduce heat to 450 degrees F (230 degrees C), and continue roasting 15 minutes. Baste chicken with pan drippings, reduce heat to 425 degrees F (220 degrees C), and continue roasting 30 minutes, to an internal temperature of 180 degrees F (85 degrees C). Let stand 20 minutes before serving.

Turn the chicken breast side up to serve (you’ll have some nice ‘grill marks’ for presentation.

This is so yummy and will definitely become a weekly special at your home like it has ours. Enjoy!

-Monica

Image